From Digital Dud to Staging Stud: How I Created My Own Virtual Staging Software
From Digital Dud to Staging Stud: How I Created My Own Virtual Staging Software - The Struggle Was Real
The real estate photography game was tough. As a new agent, I knew I needed stellar listing photos to stand out, but professional photographers charged an arm and a leg. And my iPhone camera just wasn’t cutting it. Blurry indoor shots with terrible lighting did nothing to showcase a property’s potential. But hiring a pro for every listing was out of my startup budget.
I wasn’t the only one struggling. Fellow newbie agents complained of sagging open house traffic and clunky, amateur photography. We wanted wide angles that made rooms look bigger, strategically staged furniture, and enhanced lighting. But we couldn’t afford more than a basic shoot.
Veteran agents urged us to pony up. “Bad photos are money down the drain,” they warned. Some even scoffed, “Might as well not list it.” Harsh, but true. With the rise of digital browsing, buyers skip past any prop with subpar shots. Curb appeal is crucial.
But shelling out $150+ per listing wiped out our commissions. And DIY attempts looked almost as bad as iPhone pics. We needed a budget option to showcase listings without breaking the bank.
Turns out, buyers agreed our photography struggled. In a survey, 89% said they skipped listings with poor or too few photos. And 67% named photography as one of the top factors influencing their interest in a property.
Clearly, pro photos were non-negotiable. But the high prices left us between a rock and a hard place. Venting over happy hour appetizers, we spitballed solutions, to no avail. There had to be an affordable way to make listings pop online.
Exhausted after late showings, I’d collapse on the couch and fire up my favorite HGTV shows for a brain break. If only I could magically pump up my photos like they did on those designer remodels...
From Digital Dud to Staging Stud: How I Created My Own Virtual Staging Software - Idea Spark: Late Night Binge of HGTV
Watching endless episodes of fixer-uppers, I envied how easily the hosts transformed drab spaces. With a little paint, staging, and editing, lackluster homes morphed into magazine-worthy spreads. If only achieving that were so simple for us cash-strapped agents.
The hosts used all kinds of camera and editing tricks to optimize each reveal. Wide angle lenses made rooms appear bigger. Careful cropping cut out clutter. Touch-ups added more light and color. It was like real estate magic!
And just like that, homes went from bleak to chic, maximizing perceived value. We could do the same digitally, no mess or budget required! Virtual staging would allow us to showcase a property's full potential at a fraction of the cost.
The idea resonated with other newbie agents I floated it by. Like me, they loved watching the big reveals but lacked resources for an actual renovation. If we could fake it till we make it, that could be a game changer.
I wasn't the first to think of virtual staging, but outsourcing it was still pricey. And we needed full control of the end product. My goal was to create affordable, customized 3D renderings agents could tweak themselves.
The demand was clearly there. In a recent survey, 83% of buyers said staging a home increased their interest level. And staged homes spent 73% less time on the market. We desperately needed curb appeal boost without breaking the bank.
It wouldn't be easy, but if we could develop user-friendly software, it would fill a major gap. All we needed was the tech know-how to pull off the digital illusions from our favorite shows.
Other industries like gaming and movies rendered realistic graphics daily. If they could turn Imagination into virtual reality, so could we. All it would take was the right formula - and coders to bring it to life.
The idea still felt far-fetched. But late night creativity sessions had me fired up. Virtual makeovers could help us compete with pros while sticking to our budgets. We might actually gain an advantage as early adopters.
I had to try, even if it meant learning software design from scratch. Crunching listings by day and tutorials by night sounded brutal. But with the right collaborators, we could build a virtual staging startup within a few months.
From Digital Dud to Staging Stud: How I Created My Own Virtual Staging Software - Mapping Out the MVP
With our lightbulb moment validated, it was time to map out an MVP (minimum viable product). As rookies, we had to nail the basics before tackling fancy features. Focused execution was key.
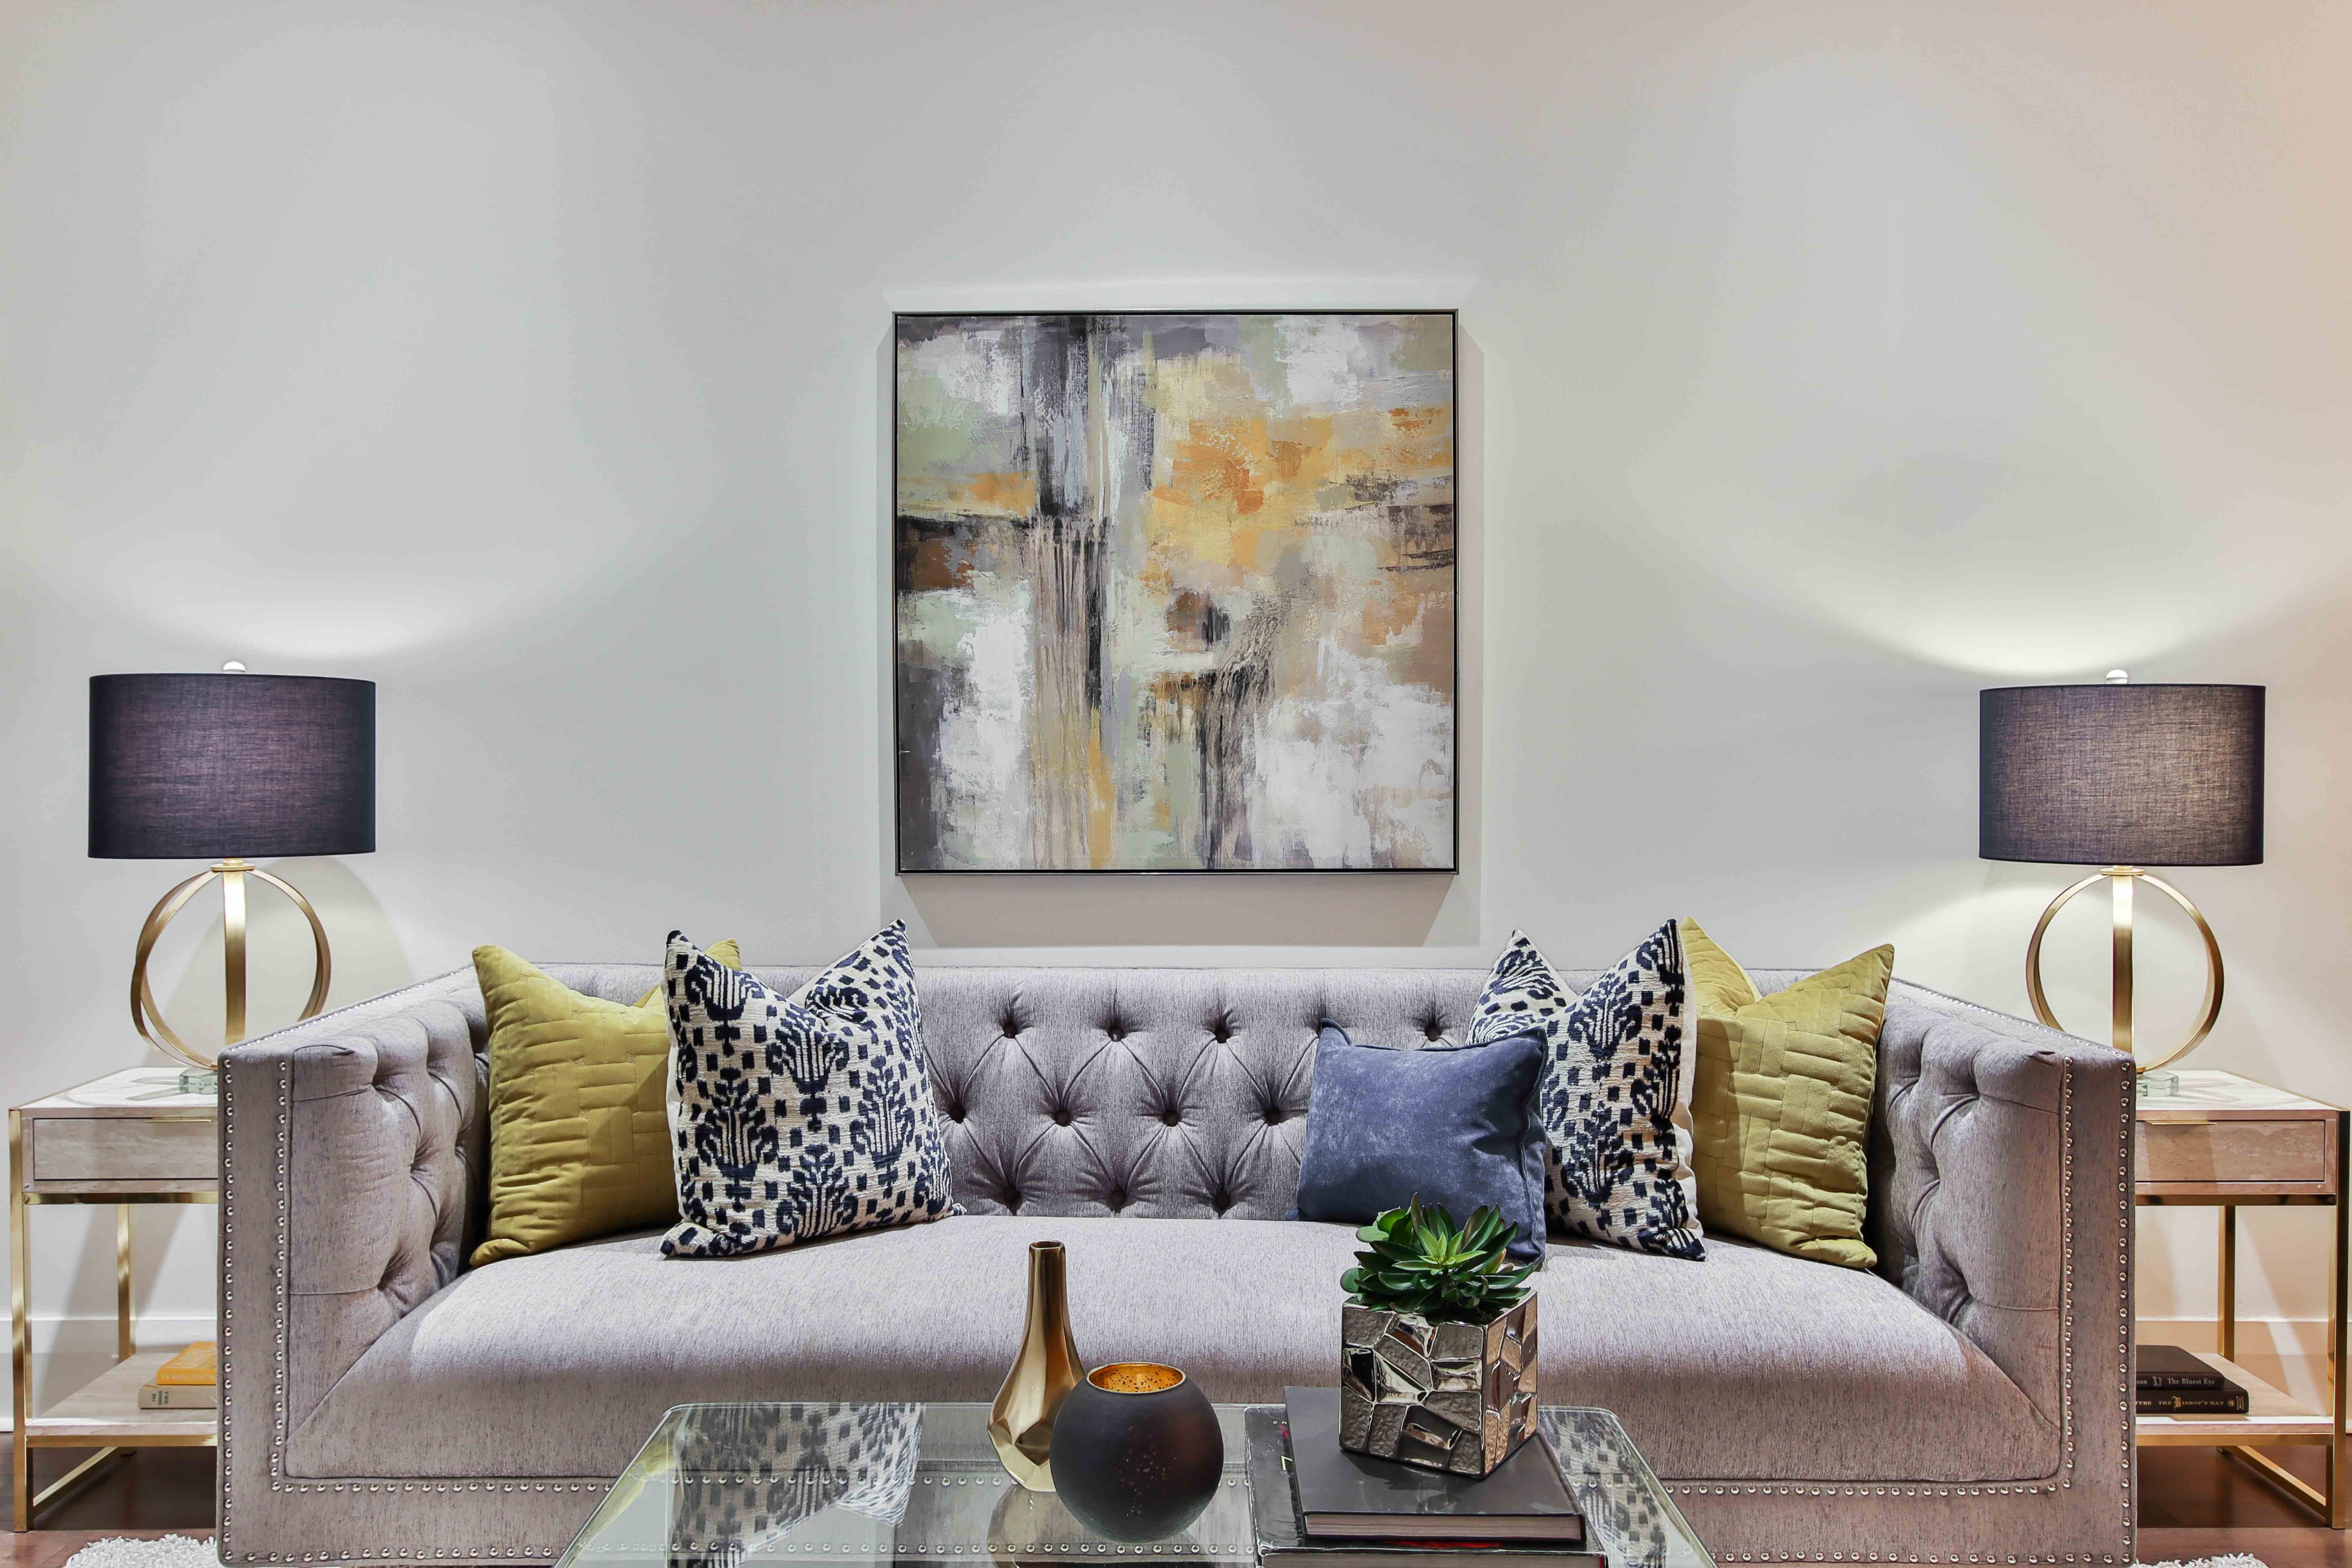
I gathered feedback from fellow agents about must-have functionality. Most wanted an easy way to cut-and-paste furniture into listings without realistic rendering. Photoshop let you overlay images, but not adjust perspective and angles. Virtual objects looked obviously pasted in.
To attract early adopters, our software had to seamlessly integrate visuals. That meant advanced 3D mapping so objects fit naturally into the scene. Users could manipulate and customize templates to match room dimensions, with proper lighting and shadows.
Advanced rendering would set us apart from other options. But too much complexity upfront could bog us down. We decided to focus the MVP on core editing tools for furniture, lighting, and decluttering. Once proven, we could layer on snazzier features.
Examining competitor products revealed big opportunities to differentiate. Some required expensive 360-degree cameras. Others had limited object libraries or only simple 2D overlay. And the high-end services cost a fortune.
By blending automation with customization, we could offer the best of both worlds. Sleek 3D renderings through user-friendly editing tools. Pricing would hit the sweet spot between DIY jankiness and pro photography.
From focus groups, we compiled a starter library of popular staging furniture in multiple styles. Sofas, beds, tables, artwork - anything agents might want to test drive in a space. Like digital building blocks to fill it in.
Lighting and decluttering tools were also high on the wish list. Enhancing brightness and removing clutter helped spaces feel more open without heavy editing. So we built those effects into our core filters.
By keeping the focus narrow, we built tremendous momentum in just a few months. The simplicity of dragging 3D objects into an existing photo gave us an advantage over clunkier software. And the rendering quality blew DIY tools out of the water.
From Digital Dud to Staging Stud: How I Created My Own Virtual Staging Software - Building a Frankenstein of Code
As total coding newbies, the build was a journey of trial and error. None of us spoke Python or had engineering backgrounds. Teaching ourselves as we went meant clunky, duct-taped prototypes only an inventors' mother could love.
We cobbled together tutorials from YouTube, Udemy, Stack Overflow forums, wherever we could parse out snippets relevant to image rendering and 3D mapping. Each lesson unlocked new possibilities from texture detection to shadow gradients. But cobbling them together led to messy logic with more bugs than a roach motel.
The first semi-working draft looked like Frankenstein's monster with features stitched and stacked haphazardly. We could not yet animate objects realistically within the scene. Anything beyond basic shapes devolved into a glitchy mess. Like attempting the Olympics after a week of training.
Getting overeager with new skills had resulted in a clunky patchwork rather than clean architecture. Refactoring helped streamline processes and clean up redundancies. But we still lacked the engineering chops to refine raw functionality into a polished product.
Collaborating with more experienced developers was a godsend. They helped transform our jumbled proof of concept into robust, scalable code optimized for efficiency. Smoothing out quirks in rendering and mapping took it from shabby first draft to beta finesse.
Standardizing protocols also ensured future features could integrate smoothly. We were still learning to walk before running. But solid infrastructure meant we could someday build this into a tool competitive with advanced platforms.
Cleaning up the sloppy logic paid dividends in performance and speed. Developing proficiency with libraries like Three.js unlocked more lifelike 3D animations. Objects could now be manipulated naturally within a scene, with proper shadows and perspective. It was like upgrading from stick figures to Rembrandt.
Refactoring was tedious but essential medicine. The growing pains taught us proper coding hygiene for future phases. We laid a scalable groundwork beyond MVP essentials, though of course glitches still lurked.
But the improved realism and customization showed great promise. Early user feedback was enthusiastic about the rendering quality compared to DIY platforms. By enduring the grind of revisions, we inched closer to a shippable beta.
From Digital Dud to Staging Stud: How I Created My Own Virtual Staging Software - Testing, Testing - User Feedback Goldmine
Beta testing was a goldmine of insights to refine the platform. We recruited a pool of new agents to experiment with the software and report back. Their feedback was invaluable for shaping an intuitive, agent-friendly tool.
During onboarding, testers raved about the easy drag-and-drop furniture templates and lighting filters. Decluttering tools like cropping and deleting objects also scored big points for quick cleanup. The rendering blew away expectations, looking more robust than the DIY options they were accustomed to.
But we noticed lengthy tutorial videos were required to grasp the advanced customization features. And testers struggled to seamlessly match object sizes, angles and lighting to the background. The learning curve felt too steep for the target audience.
Monitoring testers use the platform revealed major usability issues. Most resorted to tedious trial-and-error to resize and position objects naturally in a scene. The resulting renders looked obviously edited unless meticulously tweaked. We realized the tool relied too much on manual precision instead of smart automation.
In surveys, testers requested snap-to guides, auto-rotate features and better mimicry of scene lighting. They needed more intelligent assistance matching perspectives and angles, not complex manual editing. Integrating those insights led to huge leaps in realism with far less hassle.
Feedback also made the UI more intuitive by rearranging tools in order of frequency of use. Decluttering and lighting effects were emphasized over advanced animation for faster day-to-day enhancements. Tutorials were then simplified to onboard new users faster.
By observering their application of skills learned, we realized testers retained only 20% from tutorials. Repetition cemented techniques far better than lengthy videos. So we incorporated mini challenges to practice new skills between lessons. Gamifying the learning path boosted engagement and mastery.
Interviews with early adopters provided qualitative data on their overall experience. They raved about the rendering quality but found the workflow too rigid. Customizing objects precisely to the scene was time-consuming. We needed more flexible, automated tools adapted to user intention.
Debugging issues unearthed in trials allowed major performance improvements before launch. Smarter algorithms enhanced object interaction and scene analysis. Tools anticipated user goals to streamline mundane adjustments. Auto-fill simplified populating scenes with suggested objects from the library.
More Posts from colossis.io: