How to Brighten Dark Corners in Post-Processing
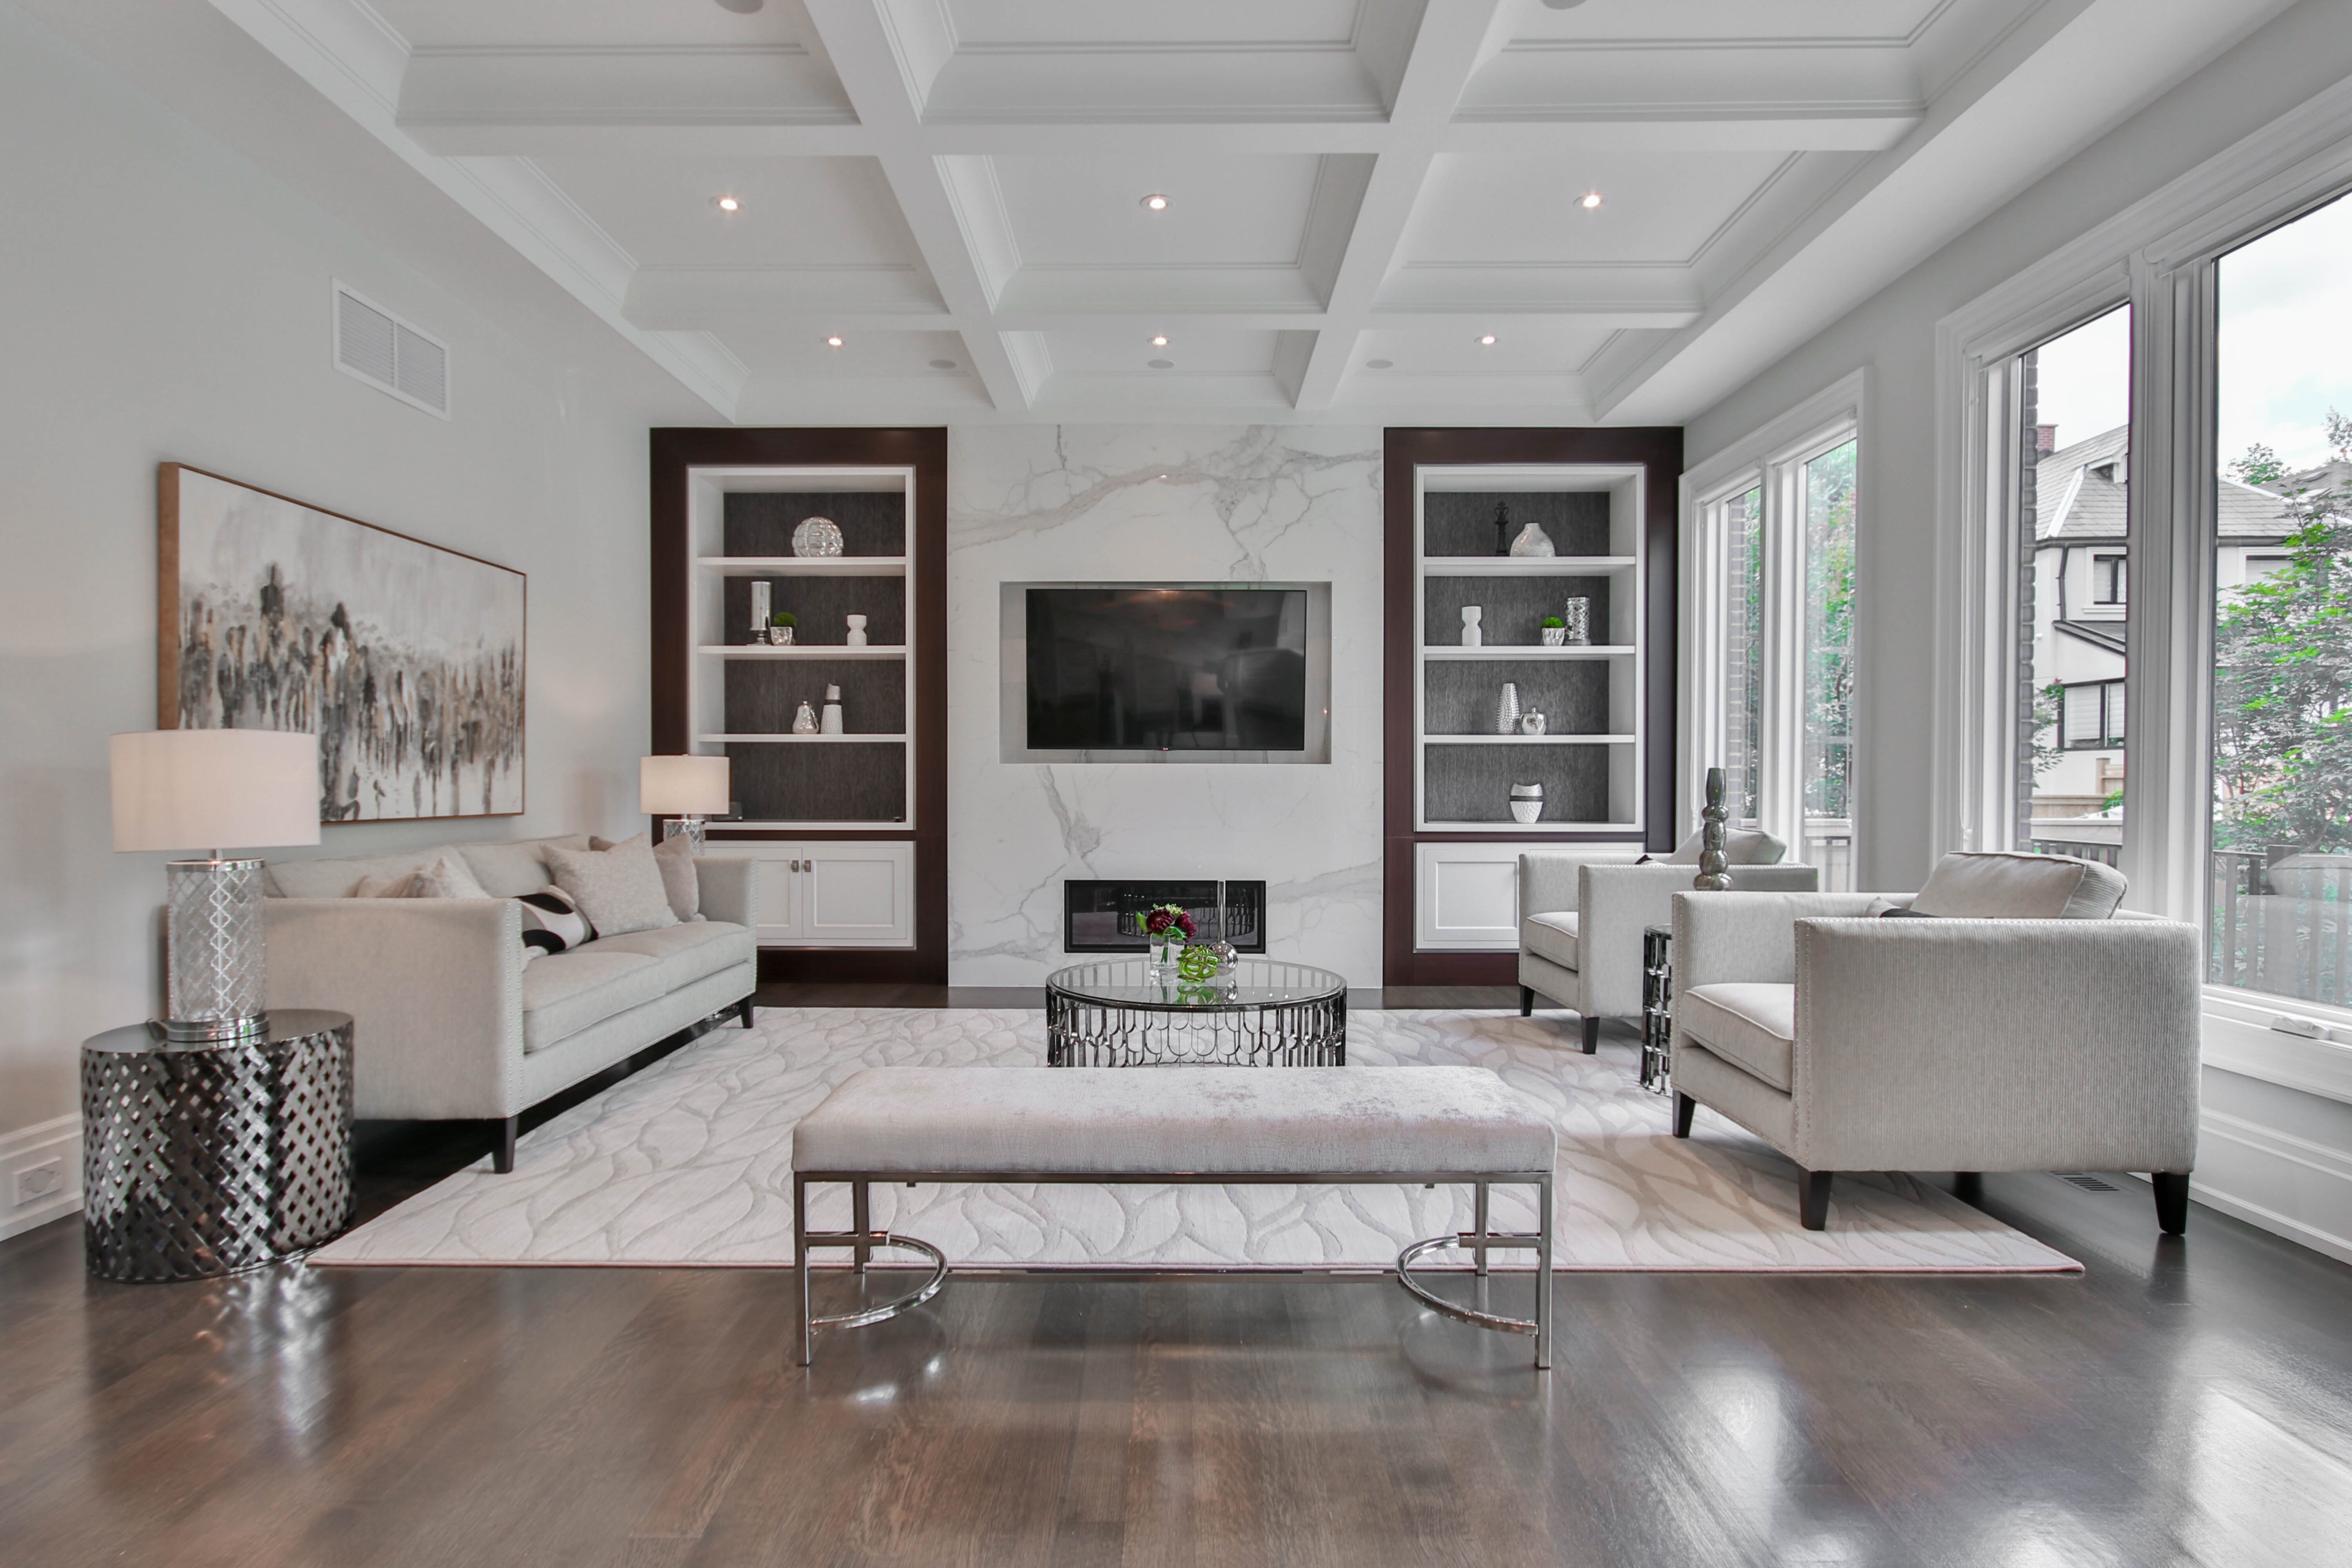
One of the most common issues in real estate photography is dark corners and edges in images. This is often caused by an imbalance in lighting, with bright daylight from windows overpowering weaker indoor lighting. The result is dark, underexposed areas in parts of the room farther from the windows.
Fortunately, this is an easy fix in post-processing. The key tools for brightening shadows and dark areas are the Exposure and Highlights sliders in Lightroom or other editing software. Start by slightly increasing the Exposure to brighten the whole image. Then use the Highlights slider to specifically target the darker areas and corners. This brings up the brightness in those zones while maintaining the overall exposure.
You can also use theAdjustment Brush to selectively brush over the dark corners and edges. Set the brush to increase Exposure, Highlights and Shadows to brightly illuminate just those areas. The Adjustment Brush gives you precise control to dodge and burn specific spots as needed.
Finally, cloning with the Healing or Clone Stamp tool is great for patching any remaining dark corners or edges. Simply sample a nearby bright area and paint over the shadows to replace darkness with light. This seamless cloning completes the brightening effect.
Lightroom Settings to Reduce Dark Edges
One of the key tools in Lightroom for addressing dark edges and corners in real estate photos is the Radial Filter. This powerful adjustment allows you to selectively apply edits to a specific area of the image, such as the corners or edges.
To use the Radial Filter, first select the tool from the toolbar on the right side of the Lightroom interface. Then, click and drag to create an elliptical selection around the dark area you want to target. You can adjust the size, shape, and position of the filter as needed to perfectly fit the corners or edges.
Shadows: Decrease the Shadows slider to lift the darker tones in the corners and edges. Be careful not to overdo this, as it can lead to a halo effect around the Radial Filter.
Feather: Increase the Feather slider to create a smooth, natural transition between the adjusted area and the rest of the image. This prevents harsh edges or visible boundaries around the filter.
You can also use multiple Radial Filters if needed - for example, applying one to each corner to address dark edges all the way around the frame. Just be mindful of not over-editing and maintaining a natural, balanced look.
Another useful Lightroom tool for tackling dark corners is the Adjustment Brush. This allows you to manually "paint" edits onto specific areas of the image. Use the Adjustment Brush to selectively increase Exposure, Highlights, and Shadows in the dark corners and edges. The Feather setting is again key here to blend the adjustments seamlessly.